

Image - Image selection
When you add or open the image module, a dialogue box appears where you can access the image archive. Here you can select an image that is already uploaded or add an image from your own computer to the image archive.
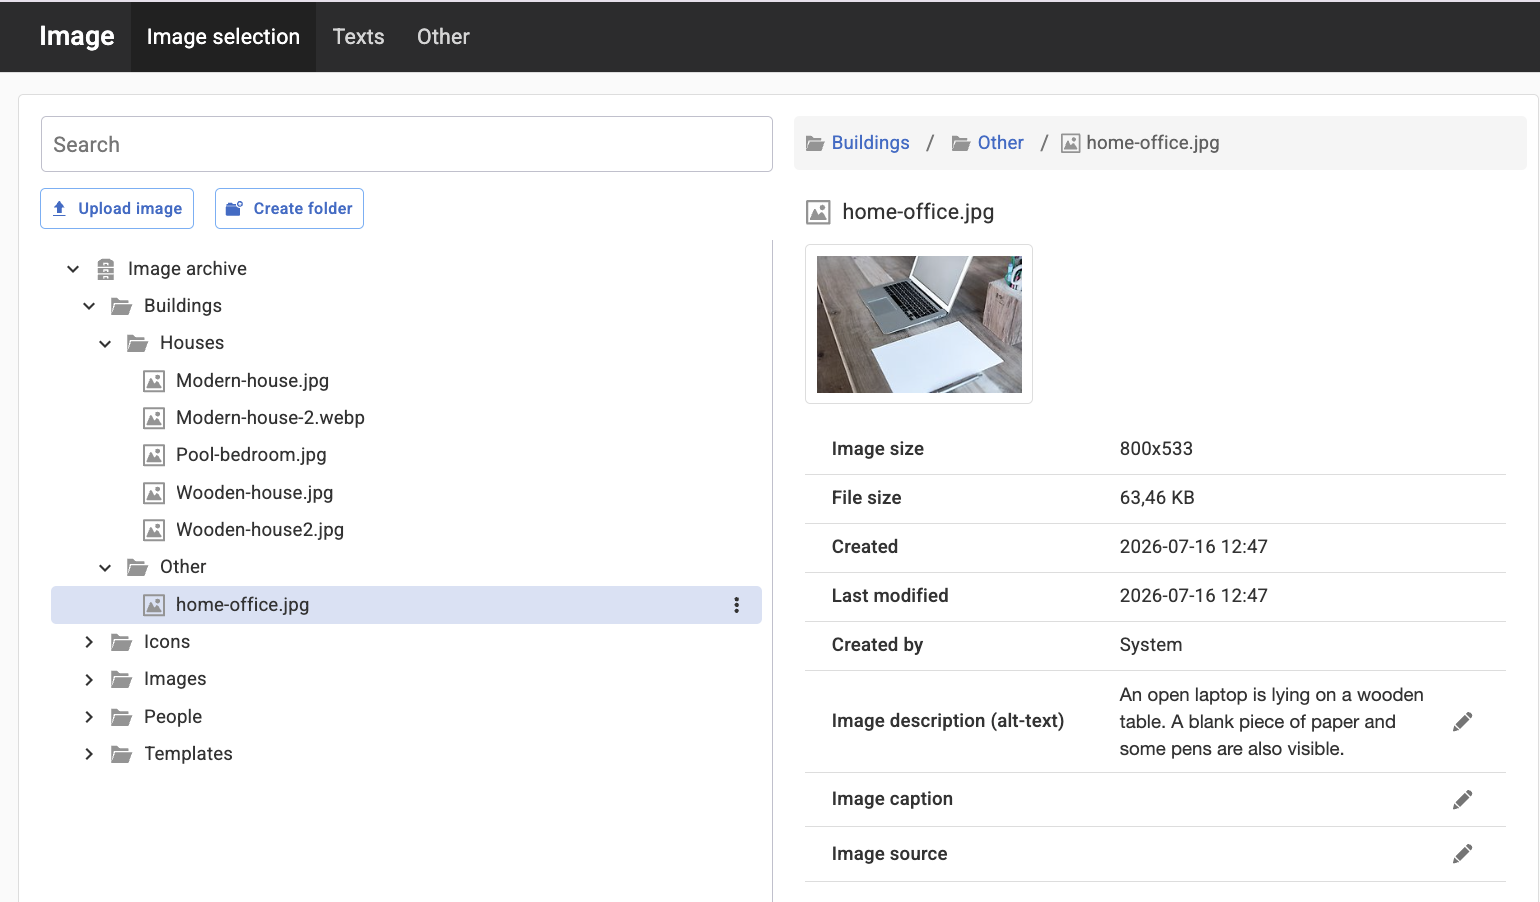
In the image archive navigator menu, you can see the structure, folders and their image contents. On the right-hand side, you can see the contents of the selected folder or a preview and image details of the selected image. To upload an image to a specific folder, select the folder. Click the ‘Upload image’ button.
If you use a smaller-screen device, such as a phone or tablet, the folder structure will not be visible. To navigate through the structure, instead use the link path that is at the top of the content part.
Structure
Here you can see the folders and images that are uploaded to the server and which are then in the image archive.
Archive
There are two archives:
1. Page images
These images can only be used on the current page. That is, no other web page accesses these images. If you delete the page, the images will also disappear.
2. Image archive
The image archive is common to the entire website. Folders are used to structure the image archive. You can also use subfolders to structure your images.
There is a central setting, under Advanced settings on the website where you can turn off "Page images".
Search
You can search for images in the image archive. Type in the search box to start searching. Select the hit from the list that you want to use. The search box searches for the image name, folders, and image description (metadata).
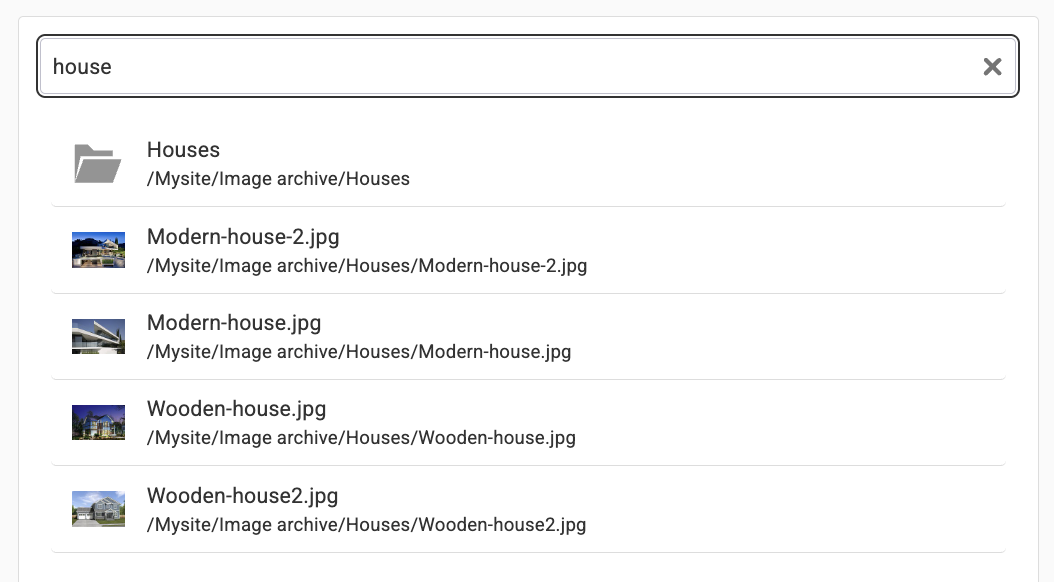
The search results are displayed with small thumbnails of the images to make it easier for you to choose the right one.
Upload Image
To upload an image, select a folder in the directory structure where you want to save the image, and then click "Upload Image."
You can add new images by clicking this option. A new window will open where you can browse for the image you want to upload. You can easily select multiple images and upload them at the same time.
Create Folder
To create a folder at the selected location in the structure, click the folder icon or right-click a folder and select "Create Folder."
Image menu (three dots)
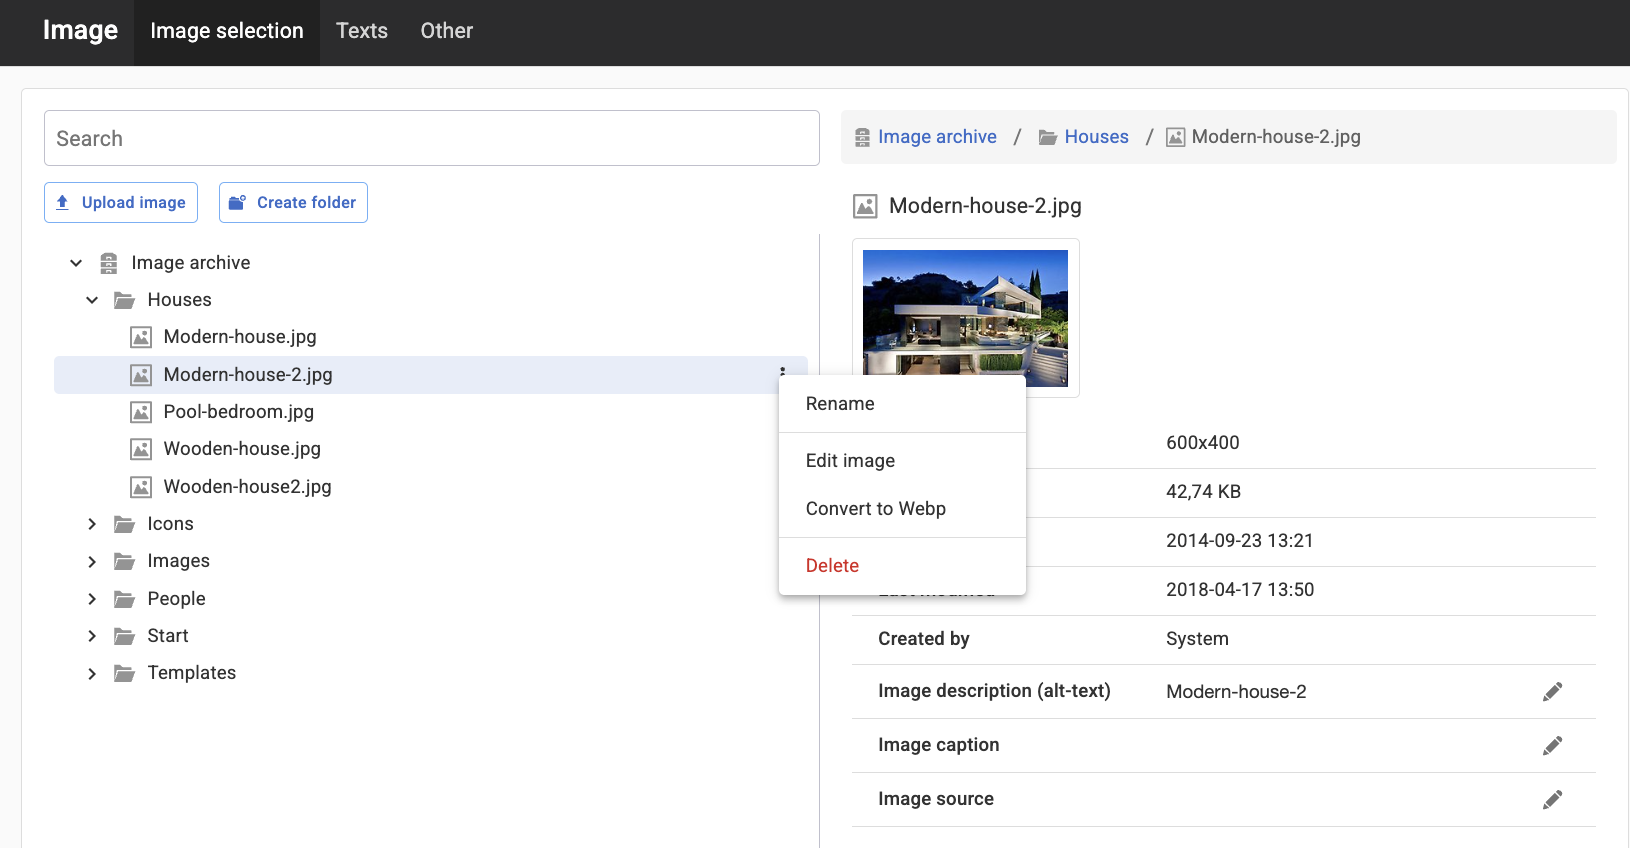
Rename
You can rename a folder or image by selecting it, right-clicking, and choosing "Rename." Press Enter to finish.
Edit image
You can perform basic edits on an image directly in the tool. The options available for editing an image are described on the image editing page.
Convert to WebP
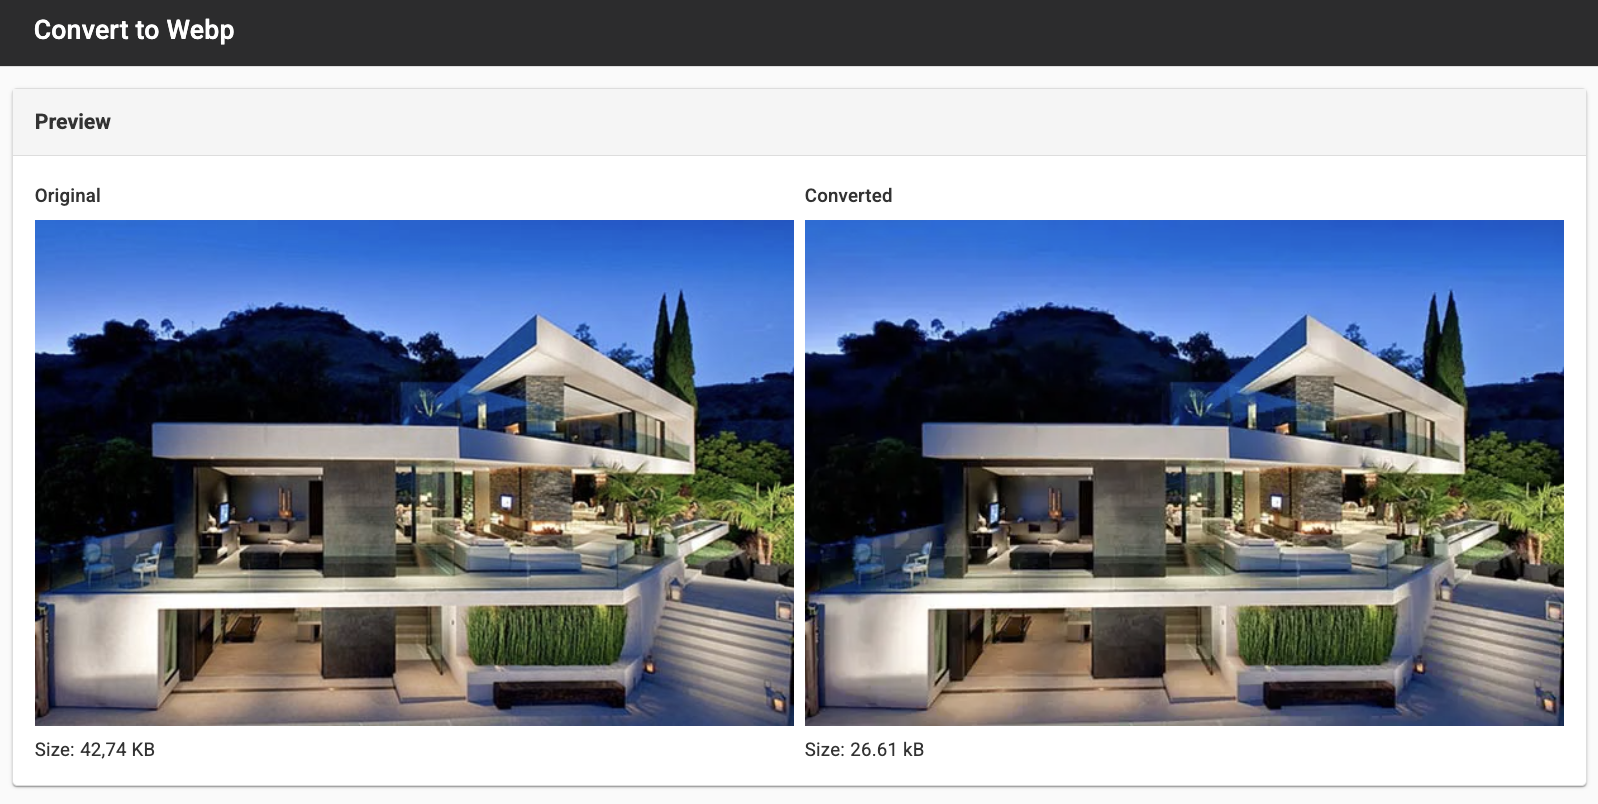
If the image looks good, click the "Convert to WebP" button. A new window will appear asking if you want to convert to WebP.
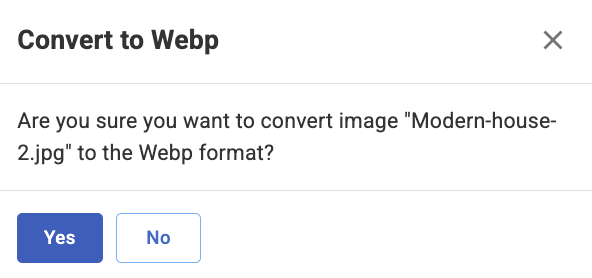
If you answer "yes," the image will be converted from JPG/PNG/GIF to WebP.
When you right-click on an .svg file, neither the "Edit Image" nor the "Convert to WebP" options appear because this is not possible.
There is also a limitation that prevents you from converting images larger than 15 MB or 30 megapixels.
Delete
To delete a folder or image, select it and click the X icon, or right-click the folder/image and select "Delete."
Content
The content pane on the right displays the contents of a selected folder or information about a selected image.
Navigation
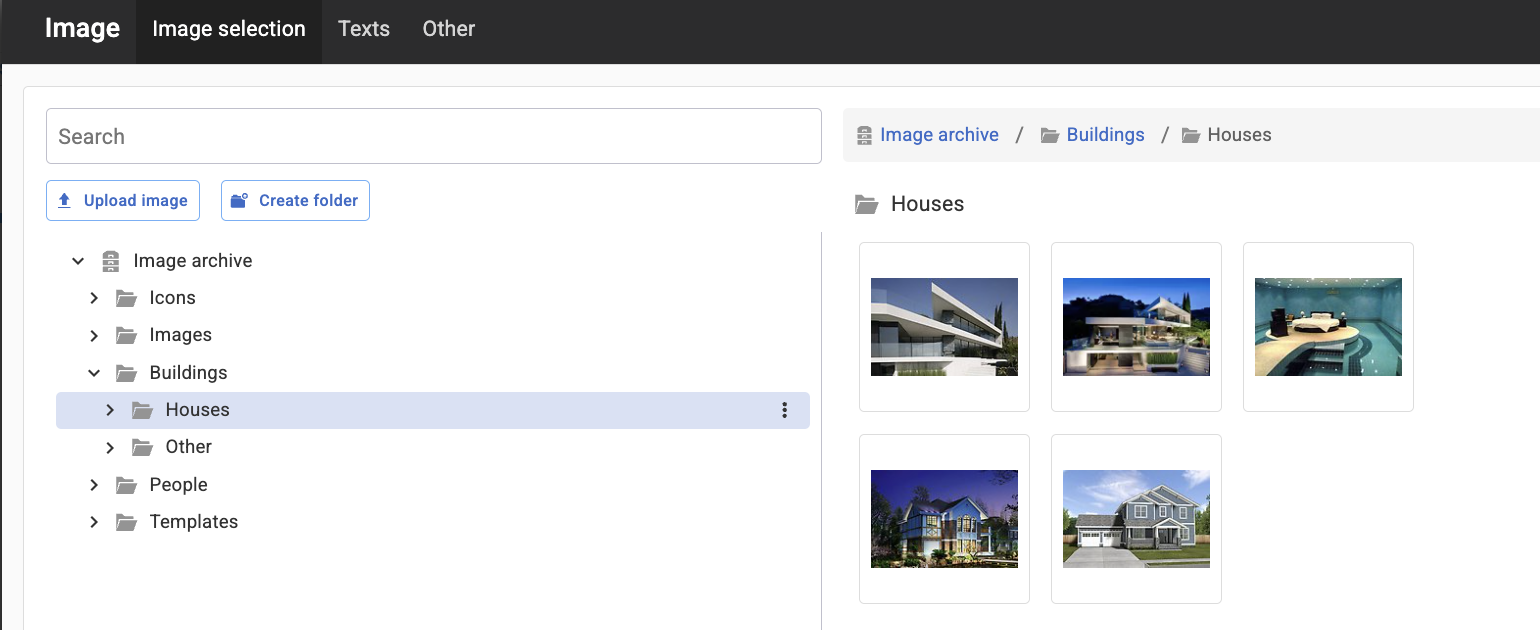
You can navigate the structure using the breadcrumb trail. If you click on a folder, the folder below it will open.
Image Information
When an image is selected in the structure, you’ll see information about the image’s name, dimensions, file size, when it was uploaded, and who uploaded it.
You can also enter an image description (alt text), a caption (which appears below the image), and the image source (which you can choose to display below the image). If you enter these values for the image, this information can be reused every time the image is used.
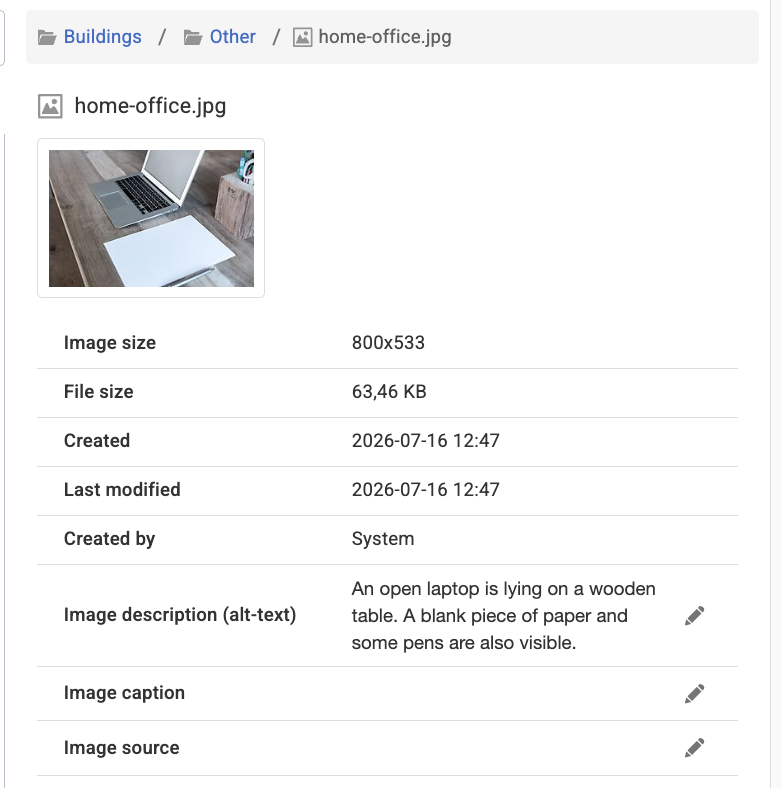
You can click the pencil icon to add or edit an image description, caption, or image source. This will open a field where you can enter this information. For image descriptions (alt text), you can also get help from AI if you’ve enabled it. Click the AI icon to generate an automatic image description,

To make the image a link, go to the Other tab. Settings for this can be found there.
The page published:
 Print page
help.sitevision.se always refers to the latest version of Sitevision